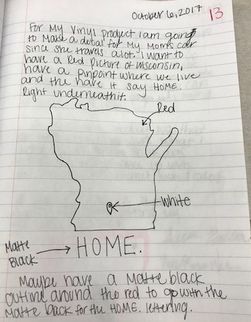
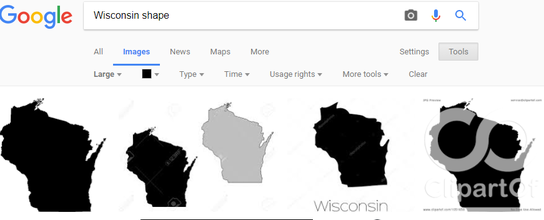
Step 1: The very first thing you need to do is to have an idea on what you want to create. Sketch out your idea in a designer notebook. Once you know what you want to create you can start image searching for images online that you can use. Always make sure that you change the tools settings to black images and large images. Once you find the images you want to use save them to your H;Drive.
|
|
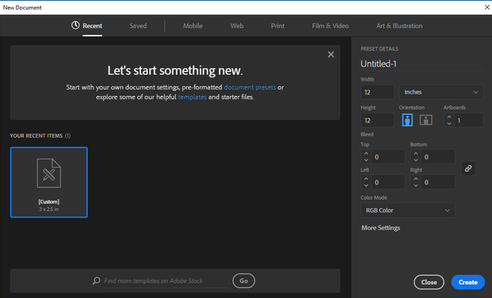
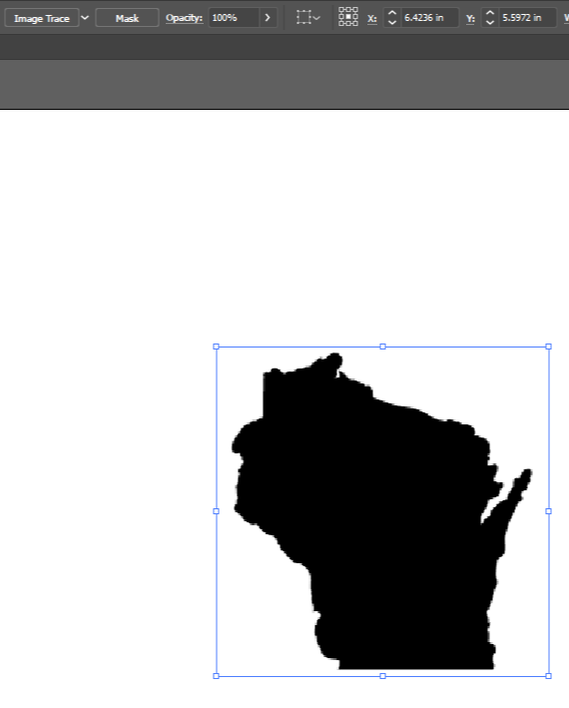
Step 2: Open Illustrator, Click on File; New... A box on the screen will pop up. The maximum size you can make your cut out to be is 12in by 12 in,so enter 12 width, 12 length and then make sure that it is in inches. To place your image on to the screen, cluck File; Place..,; Pick your picture from your H;Drive and place it in. Resize it as desired.
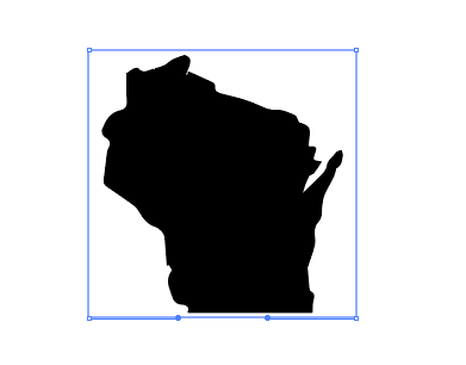
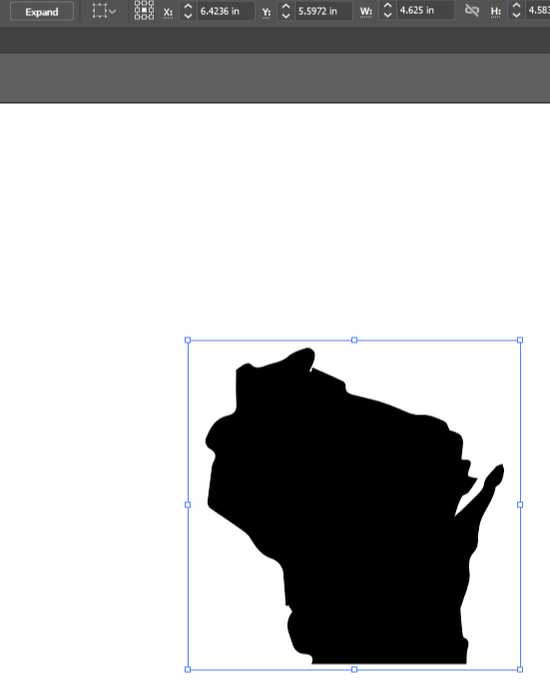
Step 3: Click on your image using the black arrow so its outlined. Then click Image Trace in the upper bar, right after you do, the button changes to Expand, and click that as well. Doing so will trace out the outline of the image so no matter how big or small the image will be it will turn out clear.
Step 4: Click on just the outlined box of the image with the white arrow and delete just the boxed outline.
Step 4: Click on just the outlined box of the image with the white arrow and delete just the boxed outline.
|
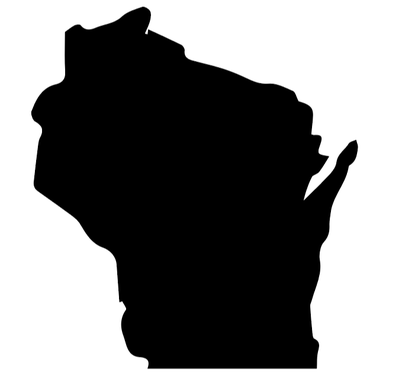
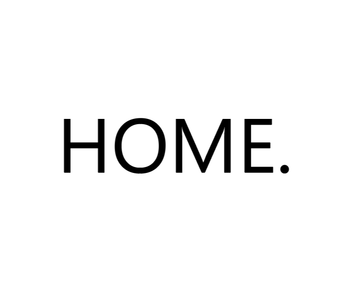
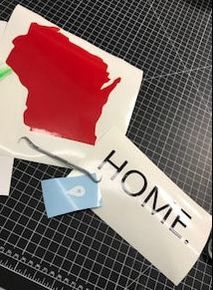
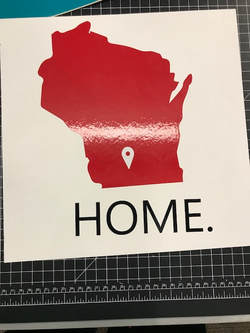
These two are the other images I designed in Illustrator. Expect for the word HOME. I typed that into the software and chose the font and font size.
|

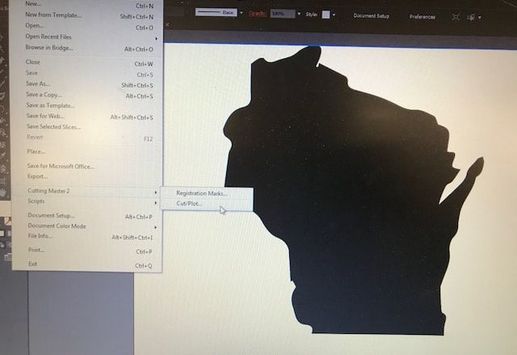
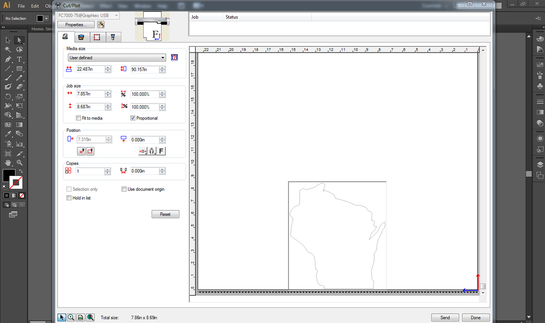
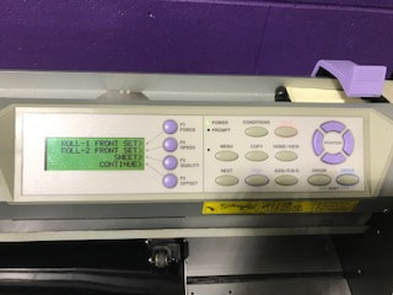
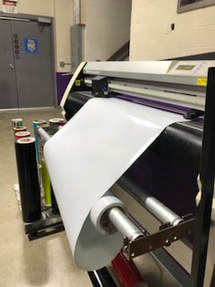
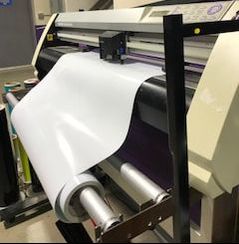
Step 4: Transfer the file to the laptop down in the innovation center next to the vinyl cutter. Open your file and slick File; Cutting Master 2; Cut/Plot.. A new box will pp. Make sure the settings are correct, using the right roll and then pushing enter. Make sure that the actually cutter is started at the far left of the inserted roll and then pull up the purple lever. (GET THE RIGHT SCREENSHOT TO ACTUALLY START CUTTING IT OUT).
|
|
|
|
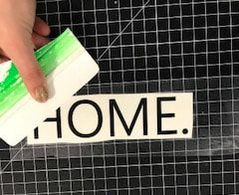
Step 6: It will start cutting, it goes fast! Once its done, use the razor blade and cut off your piece from the rest of the roll. Once you have all of you pieces you want, peel off the excess so that you just have the pieces that you need for your creation. I used a dental pick to take off the harder pieces from the O in HOME. and the dot in the pin. Since I just stuck mine to a piece of tag board, I didn't use the adhesive tape to Stick on the Wisconsin outline or the pin. I peeled it off of the sheet and stuck it on. Then I peeled the pin off and stuck it to the relative area in which we are. For the word HOME. I definitely used the adhesive tape. I stuck it to the tape and then cut off my piece then took the squeegee to press it down all the way and to get the air out. Once it was perfect, I peeled the adhesive tape off with my words attached to it.
|
|
|
|
|
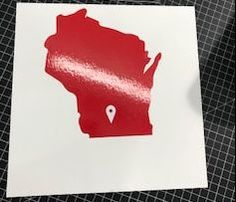
My Finished Project
The final step to my project was to apply the word. I placed the word which was attached to the adhesive tape to the tag board right where I wanted it to be placed. I then used the squeegee again to press down the letters and to get all of the air out once again. Then I slowly peeled off the adhesive tape and the words were on!
